
Activation Steps
-
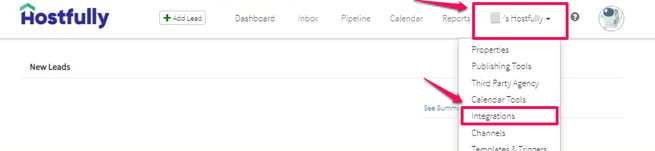
On Hostfully, go to Integrations, and look for "Autohost." Once found, switch the toggle ON to enable the integration.

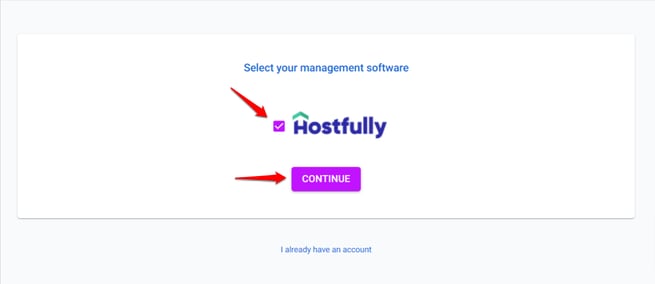
- Next, click on the Integration Link provided to you by your Account Manager. Once you've opened the link, check the box next to the Hostfully logo and click Continue.
- On this page, you’ll be asked to enter your Agency UID key. You can find this in your Hostfully account under Agency Settings (scroll to the very bottom of the Agency Settings page to locate the Agency UID - refer to Hostfully's instructions to guide you). Once entered Click Continue.
- Then, enter the Agency UID in the requested field, and click Continue. This step will now create your Autohost account and import your existing listings.


-
Once accounts have synced, a prompt will appear asking you to enter your information and fill out your credit card information. Go ahead and do this to set up your account.
-
Once complete, you will be directed to the main page of your Autohost account.
-
Great job! You're one step closer to automating your guest screening process. Click here to continue setup your account.