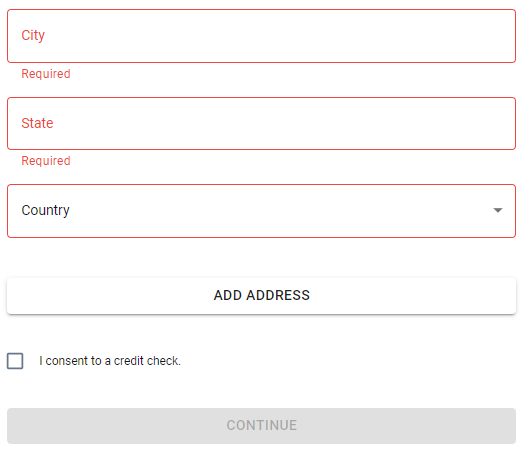
Credit Check Screen
Learn about the 'Credit Check' screen in the Guest Portal:
The Credit Check Screen is designed to perform a traditional Equifax credit check on guests, examining their credit score and credit history. This screen helps property managers assess the financial reliability of guests, ensuring that they are capable of meeting their financial obligations during their stay. The Credit Check Screen is particularly useful for longer-term reservations, where financial stability is a key concern.
Key Features of the Credit Check Screen
-
Equifax Credit Check:
- The screen conducts a traditional Equifax credit check, providing a detailed report on the guest's credit score and credit history. This helps you assess the financial reliability of the guest.
-
Customizable Triggers:
- Property managers can set the minimum number of nights required to activate the credit check. This flexibility allows you to tailor the checks to your specific needs, ensuring that only longer-term reservations undergo a credit check.
-
Optional Screen:
- The Credit Check Screen is optional, allowing property managers to decide whether to enable it based on their specific requirements. This flexibility ensures that you can use the screen when it is most relevant.
-
Guest Consent:
- As required by law, guests must explicitly consent to the credit check. This ensures legal compliance and transparency in the verification process.
Setting Up the Credit Check Screen
Customizing the Credit Check Screen in Autohost is a straightforward process. Here’s how you can do it:
-
Log into Your Autohost Account:
- Navigate to Guest Portal > Add-ons.

- Navigate to Guest Portal > Add-ons.
-
Enable Credit Checks:
- Toggle on the Credit Checks option.
-
Set the Minimum Number of Nights:
- Go to Guest Portal > Screens > Credit Check.
- Set the minimum number of nights required to activate the credit check. This ensures that only longer-term reservations undergo a credit check.

-
Save the Configuration:
- Click "Save" to finalize your settings.
What the guest sees:


