In this guide, we'll learn how to connect Autohost to a CRM, like HubSpot—which we'll use in this example. Normally, you would need to know how to write code to achieve this, but thanks to tools like Zapier and IFTT, we can use a simple user interface to build the connection.
For this tutorial, we'll be using Zapier, which will act as the middleperson between Autohost and your CRM. Once you connect Zapier to Autohost, it will receive details submitted by your guest via the check-in portal and create a new (or update an existing) contact in HubSpot.
Let’s get started!
This guide, while still relevant, is outdated. Autohost now offers a Zapier app that makes it a lot faster and easier to integrate with hundreds of other applications.
Prerequisites:
-
Zapier account (paid)
-
HubSpot account (free)
Steps:
Part I: Exporting data via Zapier
1. Login to Zapier and from the main page, click MAKE A ZAP.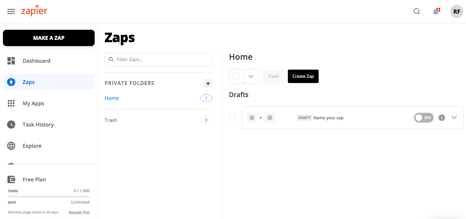
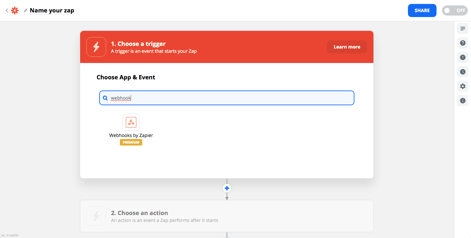
2. Search for webhook as a trigger and select it.
3. Select Catch Hook for Trigger Event and click CONTINUE.
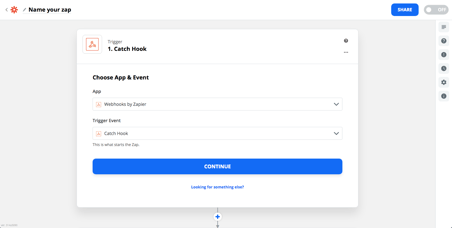
4. Click CONTINUE again.
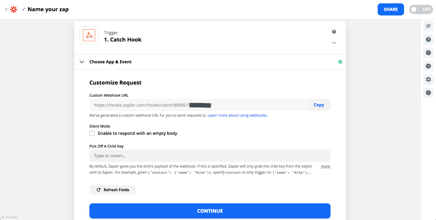
5. Note the unique URL created for you. Copy it and paste it into your Autohost settings, as shown in the next screenshot.
6. Log in to your Autohost dashboard and go to Settings and then click on the Advanced tab. Look for the field called Webhook URL and copy-paste the URL from Zapier.

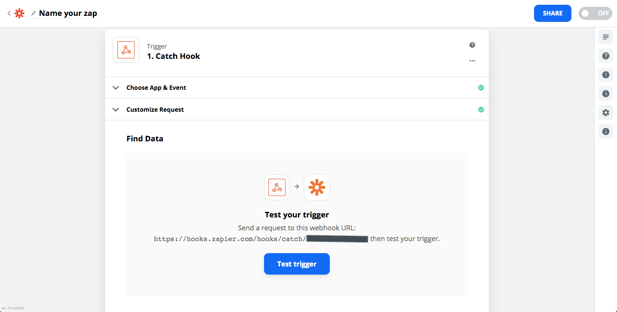
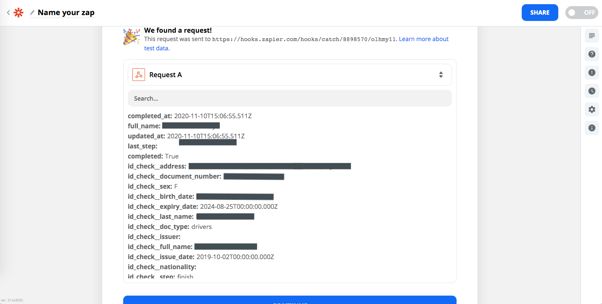
7. Now, we need to send test data to Zapier so it will know what data to expect and allow us to finish building your Zap.
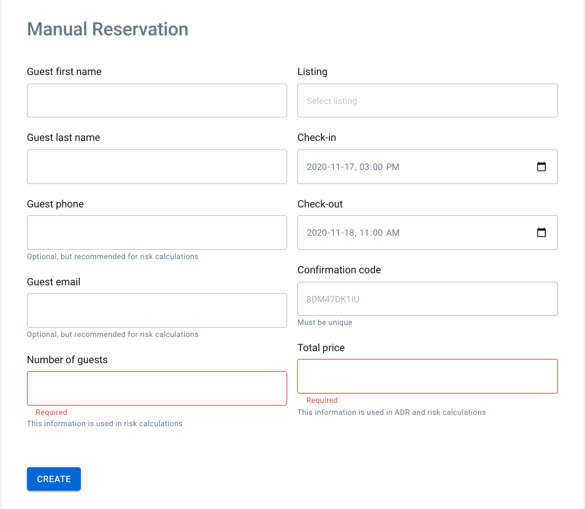
8. Fill out the details above and click CREATE.
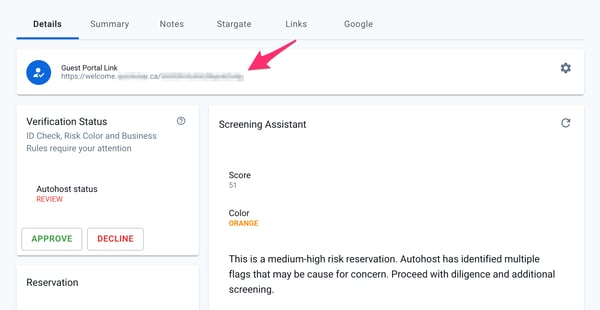
9. Go to your Reservations, and find the reservation you just created. Then follow the Guest Portal Link and complete the Portal.
10. After you've finished, return to Zapier and click CONTINUE to see the data received from the Guest Portal.
Part II: Pushing the data into HubSpot
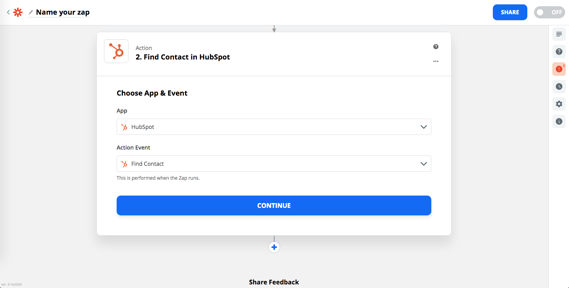
1. For the second step, search HubSpot to find the correct target application to which we want to send the Guest Portal data.

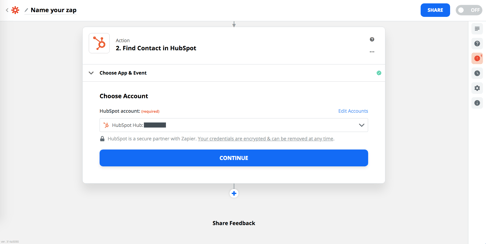
2. Select Find Contact under Action Event and click CONTINUE.
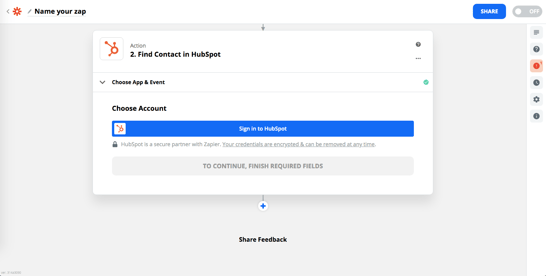
3. If you have never connected Zapier to HubSpot, you will need to do so now. Click Sign in to HubSpot to connect.
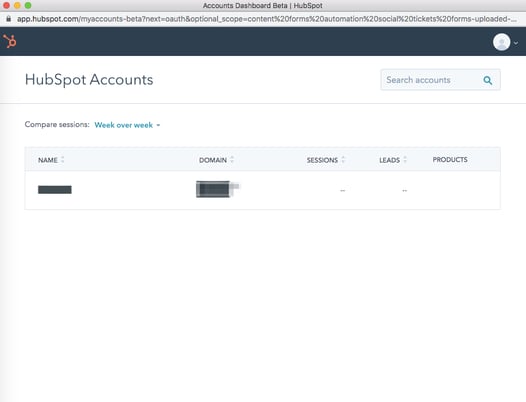
4. Select the HubSpot account you want to connect if you have more than one.
5. Click Connect App to authorize the connection.
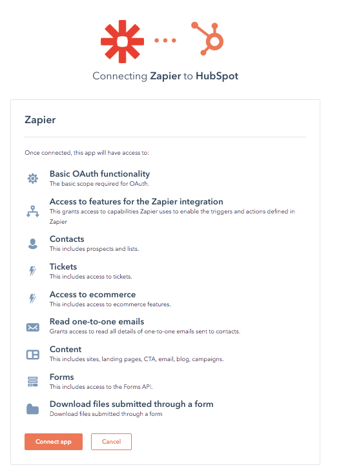
6. Confirm the account number is correct and click CONTINUE.
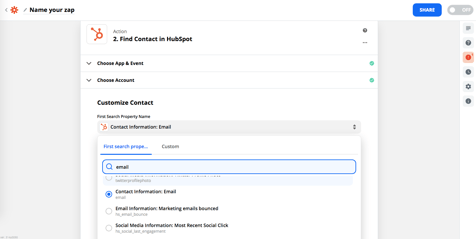
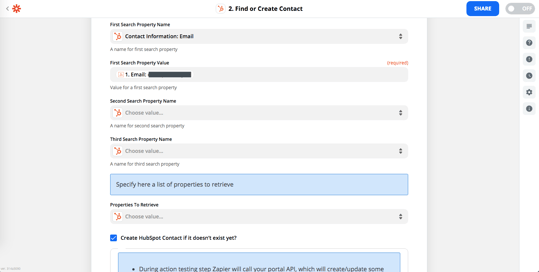
7. Now that HubSpot is connected, we need to configure how to search for existing contacts. Click on First Search Property Name and in the search popup, type email to find the contact email field we want to use.
8. Next, we need to define which fields are sent from Autohost. Click on First Search Property Value and in the search popup, type email to find the email field and select it.
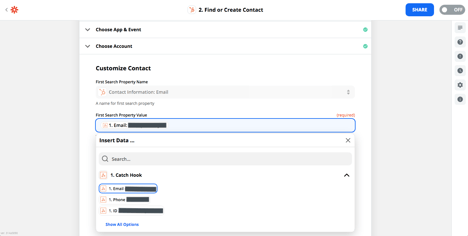
9. Make sure you check the box Create HubSpot Contact if it doesn’t exist yet.
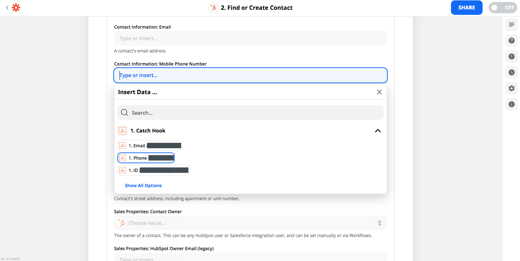
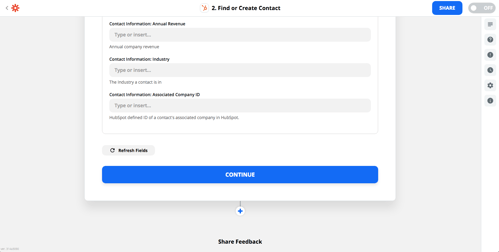
10. In the last step, we instructed Zapier to create a new contact if a matching email was not found, so now we need to configure how to create a new contact profile in HubSpot.
Scroll down until you find Contact Information: Mobile Phone Number. Click the empty field and type phone to find the phone number field sent from Autohost.
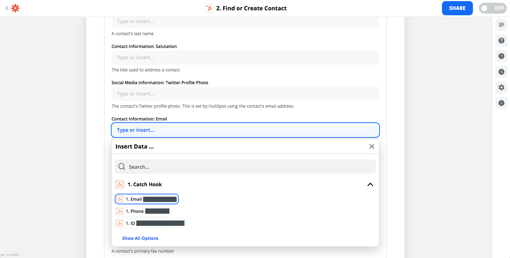
11. Like in the previous step, we will next configure the contact email. Look for Contact Information: Email. Then click the empty field to search for email and select the correct field.
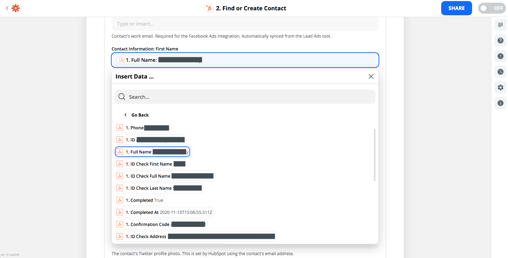
12. Find Contact Information: First Name. Click the empty field, search name and select the Full Name field sent from Autohost.
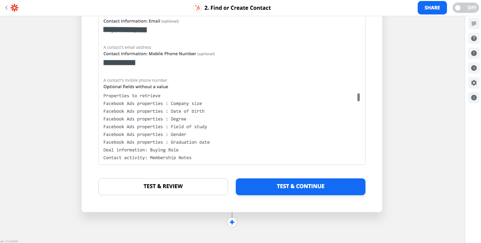
13. We’re almost done! Scroll to the bottom and click CONTINUE.
14. Click TEST & CONTINUE to verify your new Zap connection is working.
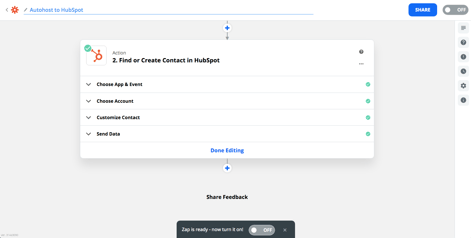
15. And tada! Do not forget to rename your Zap at the top of the page. Once that's done, you can click Done Editing and enable your function.
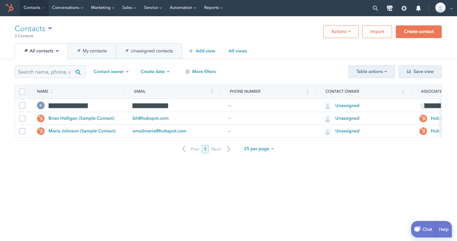
16. Now, if you go back to HubSpot, you will see the test contact created under your Contacts.